Showing posts with label acrylic ink. Show all posts

Thursday, March 20, 2014

New Etsy Shop and Content

If you like my work and are interested in buying any of them, or simply checking out new pieces I have created, here is my etsy shop that I just got up and running. I appreciate your support, and am working on setting a schedule to more frequently update this blog. I have about 30 new paintings I have done since my move to Seattle, WA and am excited to share them with you. 

https://www.etsy.com/shop/SensoryIntegrity

For now, here is a couple examples of some of my new work. 
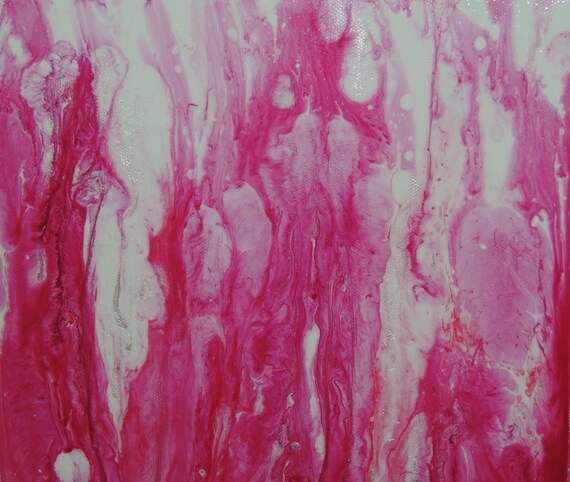
This first piece was created with acrylic inks, both colored and iridescent, which are embedded in a layer of pouring medium. This adds depth and dimension to the piece, and the interference/iridescent inks add complexity as the colors change in different lights. It reminds me of stained slides in a microscope and looks like something from an internal anatomy structure, without being directly referential of any particular structure.  This piece is done on 10in by 10in canvas with painted sides, ready to be put on display. 
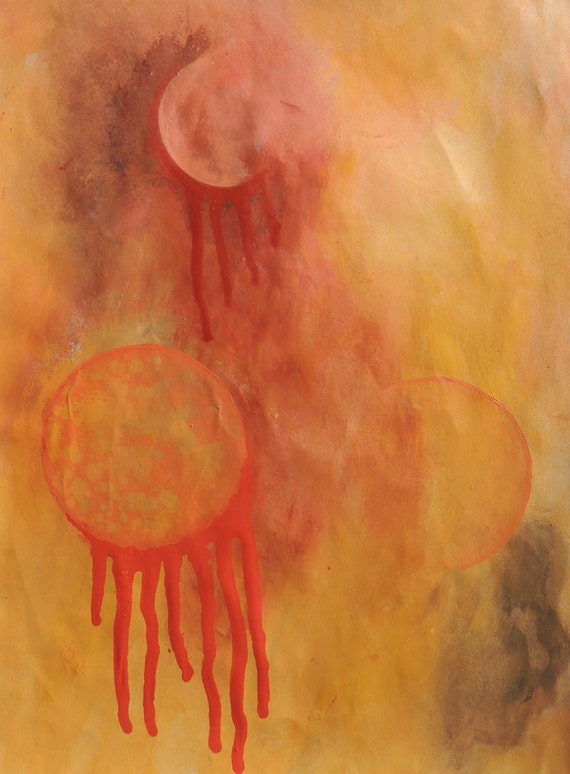


This piece was created solely with the use of acrylic paints, which has become rare for me, since I love so many media and can hardly contain myself to just one. It was done during my phase of planet/galaxy interest, and  has an alien sky feel to it. It was done on 9in by 12in paper and comes sealed in an art protector.

Thursday, January 9, 2014

Dripping madness

This piece effectively summarizes my passion for texture, and the texture is what caused the ink to drip in such an interesting way. This piece was colored with black acrylic in only, in different diluted strengths.

Tuesday, March 12, 2013

Abstract Oil and Water Photographs


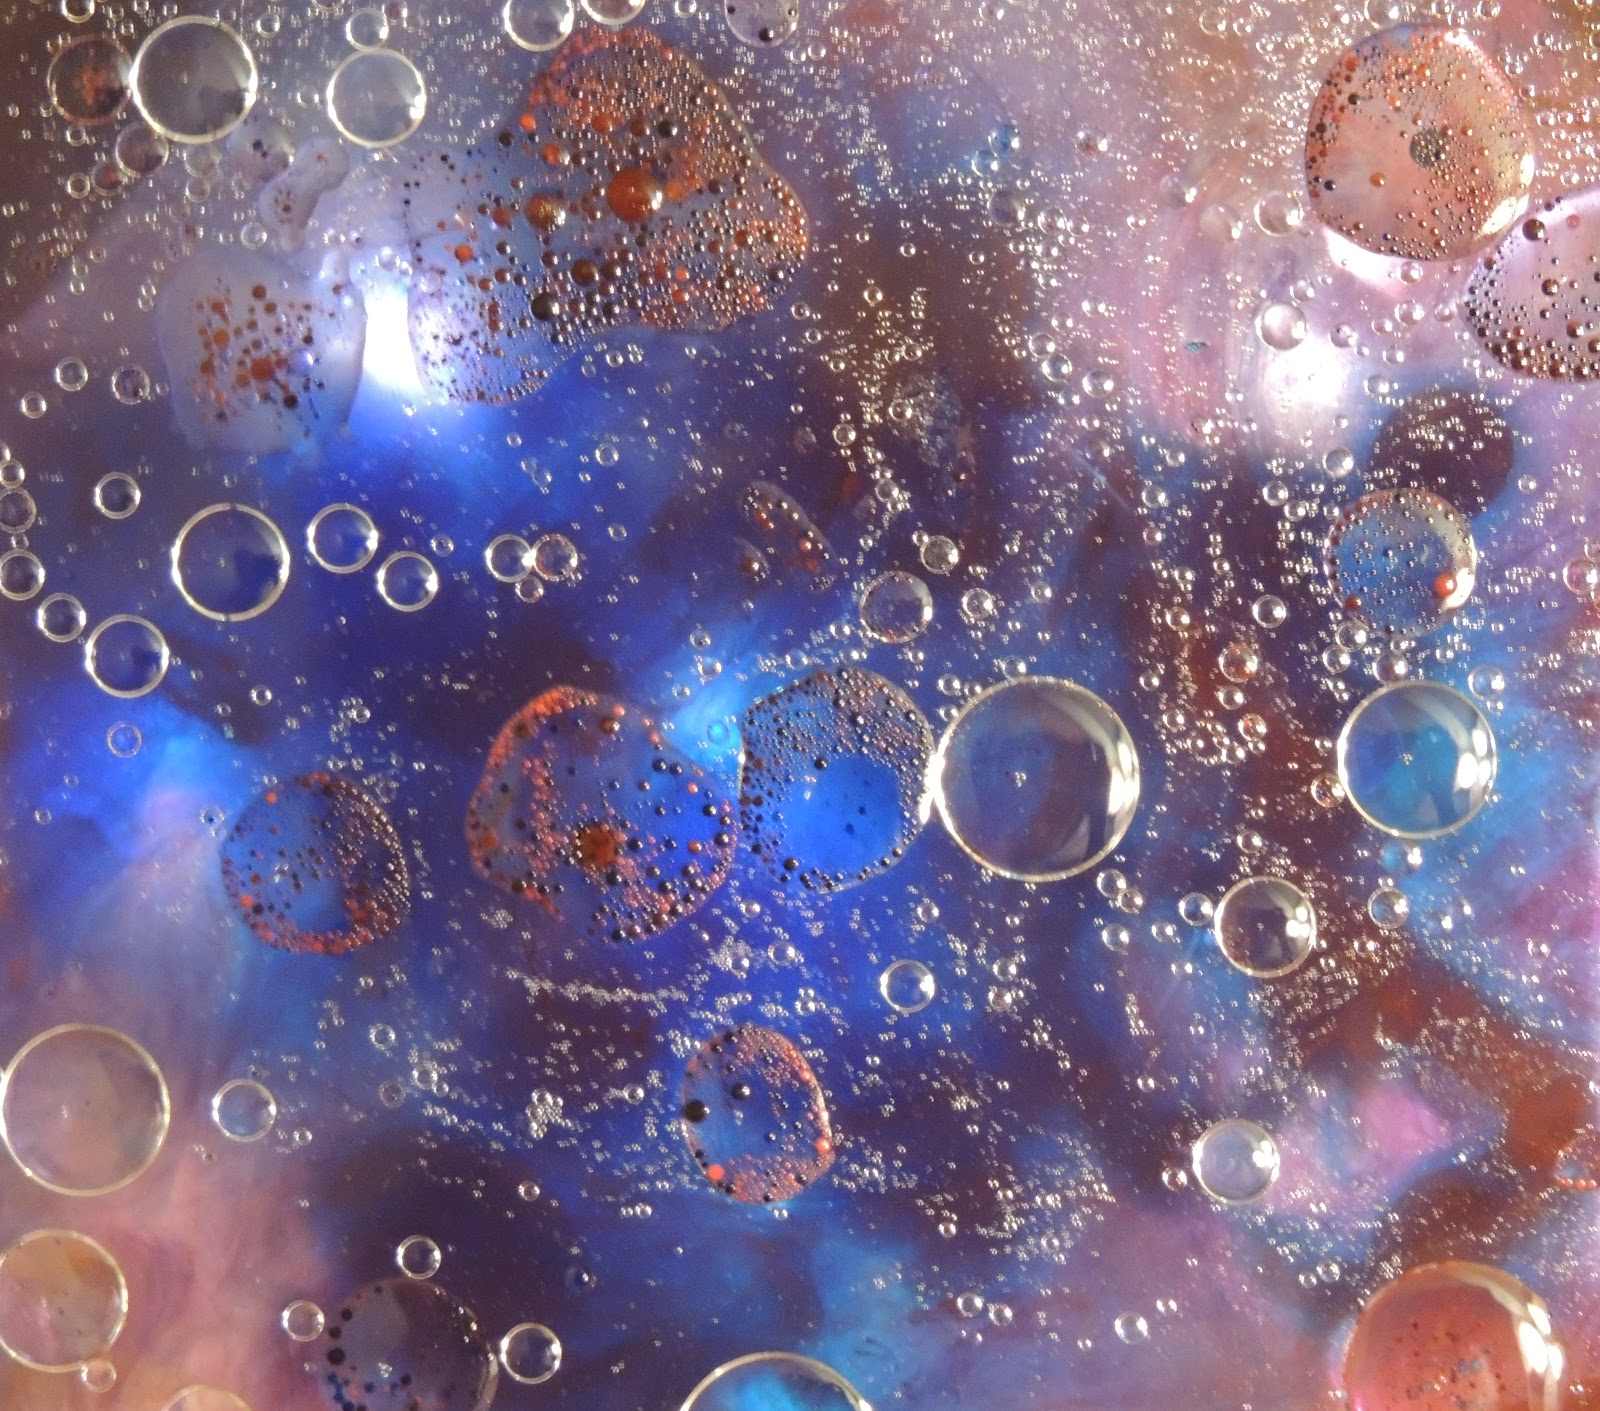
These abstract photographs were made with the help of oil and water. The bubbles are vegetable oil floating on water, in a glass dish. The dish is lit from underneath, with ink floating in and sunk at the bottom of the water. I experimented for awhile getting the lighting and colors right, then took a bunch of photos so I could pick out my favorite ones. This experiment was successful, and I will be doing this again soon.


Monday, March 11, 2013

Abstract ink painting on 11*14 paper


A friend of mine came over today so we could paint and create together. She had some very inspiring ideas, and while she created, I worked on this new paper painting. I started with a thick layer of acrylic paint, which I then removed some of and distressed with a spray bottle and paper towels. I then started splattering different media across the paper. I started with iridescent ink, then added some alcohol ink, acrylic ink and even fluid acrylic paint for some dimension. I let some of the colors mix and intermingle, while others I dried first before adding another layer. Towards the end I started tilting the paper so some of the drips and splatters could run. I then sprayed a spray bottle containing water thinned acrylics to finish off the whole painting. I am excited about this picture because the only editing I had to do to it was to crop it, there was no messing with the saturation needed. This photograph is the exact colors of the actual painting. I am happy to finally have a way to share my work, exactly as it appears in real life.

Sunday, February 24, 2013

Magenta and black abstract

This piece was done on a 9*12 mixed media, 98 pound paper, which is the paper I use for acrylic. I started with a suminagashi layer with water thinned acrylic paints, instead of the acrylic inks I usually use. I did a light layer, but the acrylics can be made as bright as the inks. I then dripped black ink across the page in multiple layers, blotting each with a paper towel, except the last one, this removed some of the ink, while adding a small amount of texture from the paper towel pattern.

Friday, February 15, 2013

Skull stamp painting

This painting was done on a block canvas a friend gave me. I wanted a texture for the underpainting, so I used modeling paste mixed with acrylic paint and acrylic ink. After that dried, I added different glazes with interference powder, ink and paint. I then used different mediums to stamp a skull in multiple places. The stamp I made by carving a potato, which is a fast and affordable way to make temporary stamps. I then added focus by making two of the skulls bleed with acrylic ink and glazing medium.

Thursday, February 14, 2013

Postcards part 2

Here are four more postcards I finished today. They are done entirely with acrylic inks, like the last batch. The top left one I did with sprays, stamps, even using the stamp mounting block as a stamp in the wet ink. The top right one was done with an aged script stamp I stamped and then sprayed water on while it was still wet. The bottom right one was done with drops of ink and water, which ran together in interesting ways. I then stamped the word HARK on it, which almost looks like shark with the way the ink set in front of the H. (This would also fit with the blue background) the bottom right was done with three different inks, all dropped on and blown with straws, to make the spider like tentacles across the postcard.

Wednesday, February 13, 2013

Postcards

I was digging through my box of paper and came across a pack of blank postcards that I had yet to paint. I thought it would be fun to have something practical and inexpensive to offer at my next art show. I have been having a blast making these, they are small and take way less time than anything else I've done. These are done completely with acrylic ink, water, and stamps.

Batik effect

This piece was done entirely with acrylic inks and water. I first applied a stencil and sprayed the acrylic inks over it. I then wet the entire paper, crumpled and uncrumpled it, then added washes the same inks over it. The washes stuck in the wrinkles, creating a batik effect. I then sprayed the inks over that, darkening the whole piece, and adding a border. I then created my own stamp design with different size number stamps, to add a focus to the piece.

Tuesday, February 12, 2013

Poured painting high gloss

This painting was poured with mixtures of pouring medium and acrylic inks. It used much less material than the acrylic poured painting I did a couple weeks ago. I love the high gloss finish that this piece has, it works well to give it that completed look.